You can use a glass aquarium that has a metal screen lid, but in this example we use a plastic storage tub. For this plastic tub you will cut ventilation holes and screen them in. Dubia cannot climb plastic or glass so either choice is fine. I have picked the Sterilite, Latch Carry, 18 Gallon / 68 Liter storage tub.
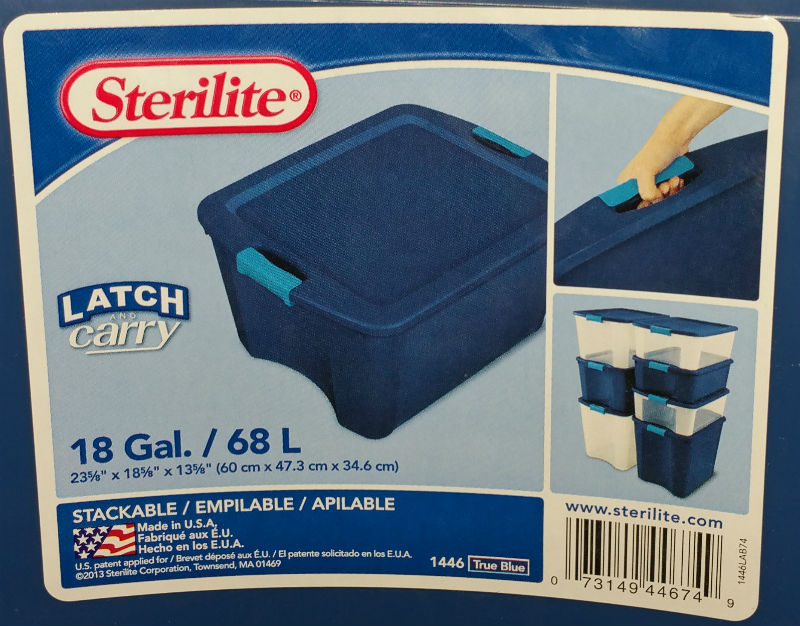
It is important to get a dark colored tub, clear tubs do not cut well and crack easily. This tub is sturdy, the lid is easy to cut vent holes in, it won't crack, and the latches on the handles ensure the lid stays on tight when not in use. Please Note: The quality of this tub lid is very important, you are going to cut ventilation holes in it, I cannot stress enough how dangerous other tubs can be to work with. You can use a soldering iron to cut the holes if you are not comfortable using a carpet knife.
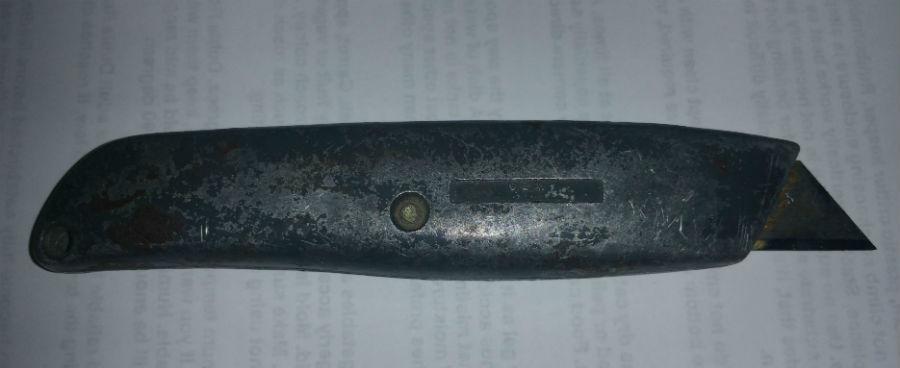
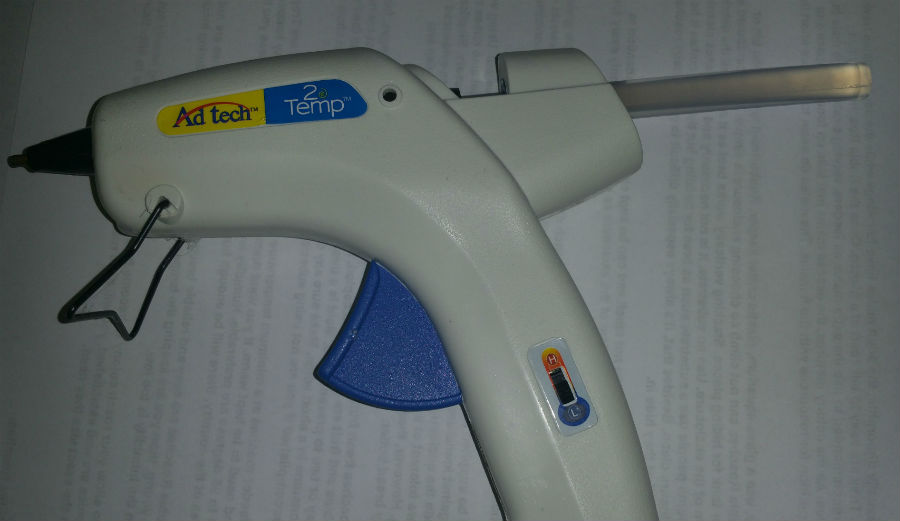
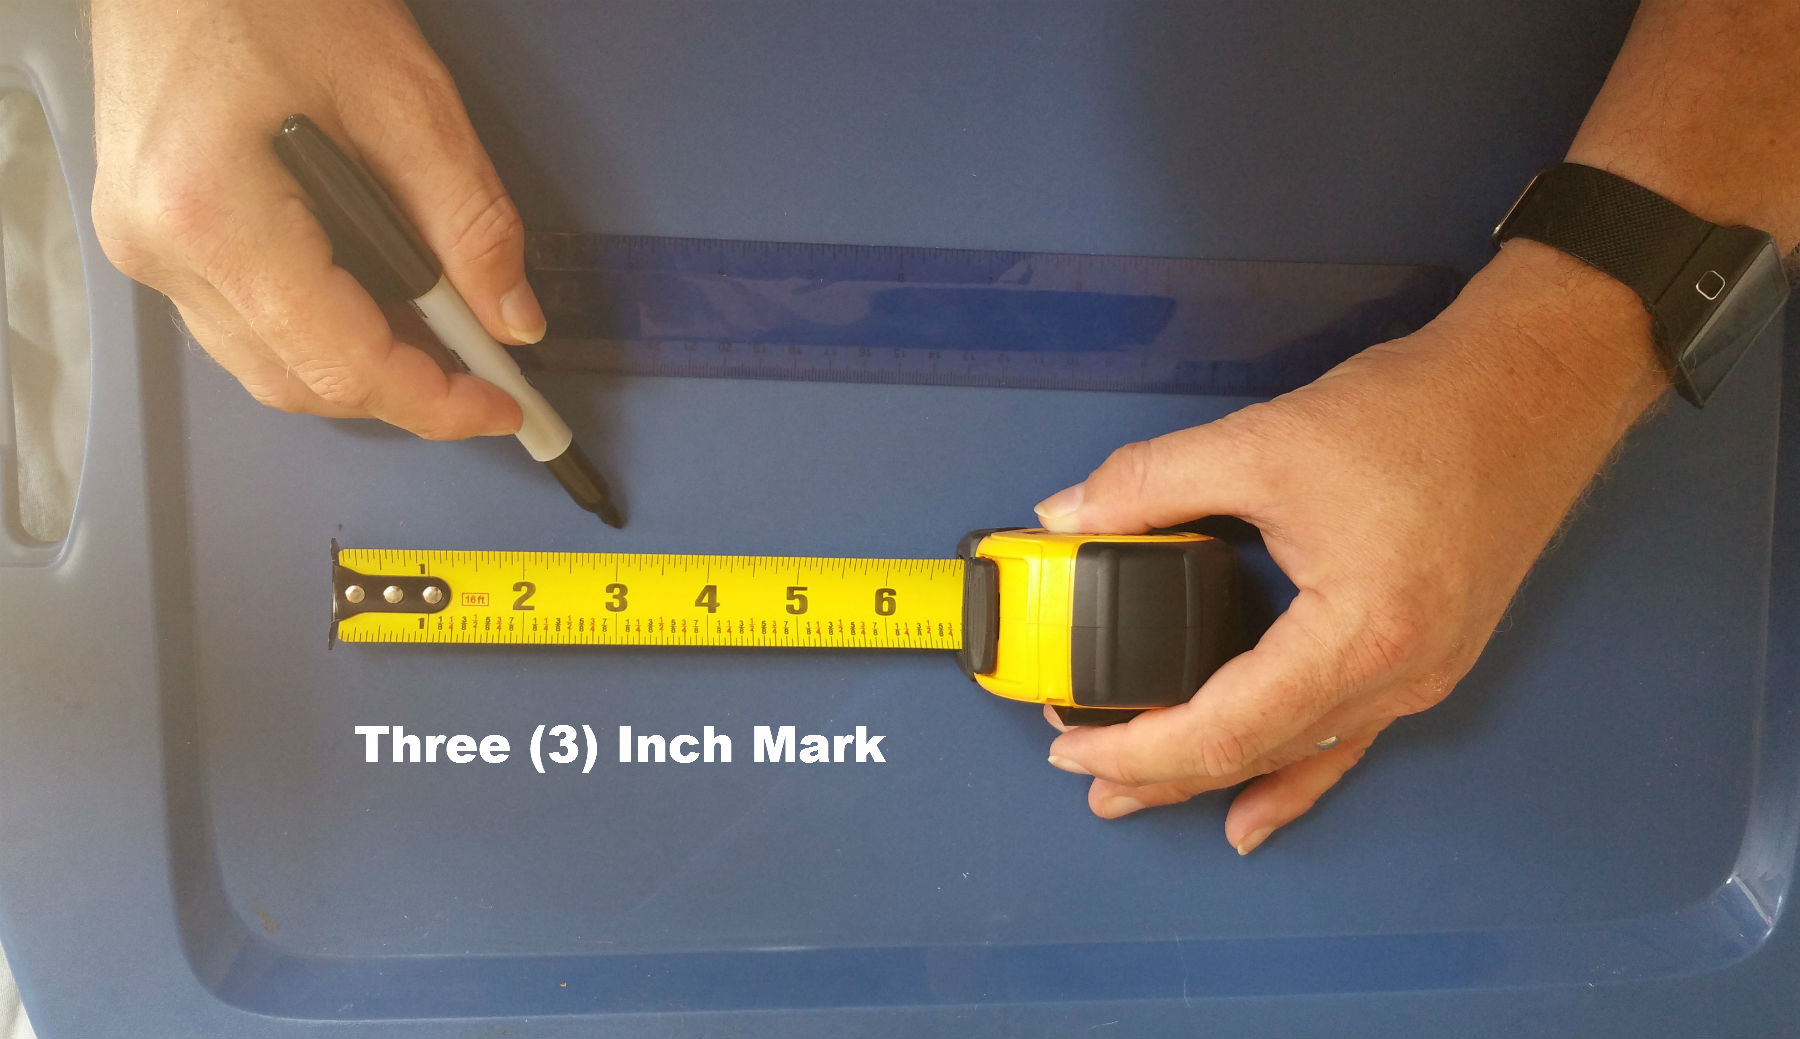
Your Dubia need, air, heat, and humidity. You will need the following items to cut the vent holes Tape Measure, Razor Knife, Scissors, Marker, and Hot Glue Gun


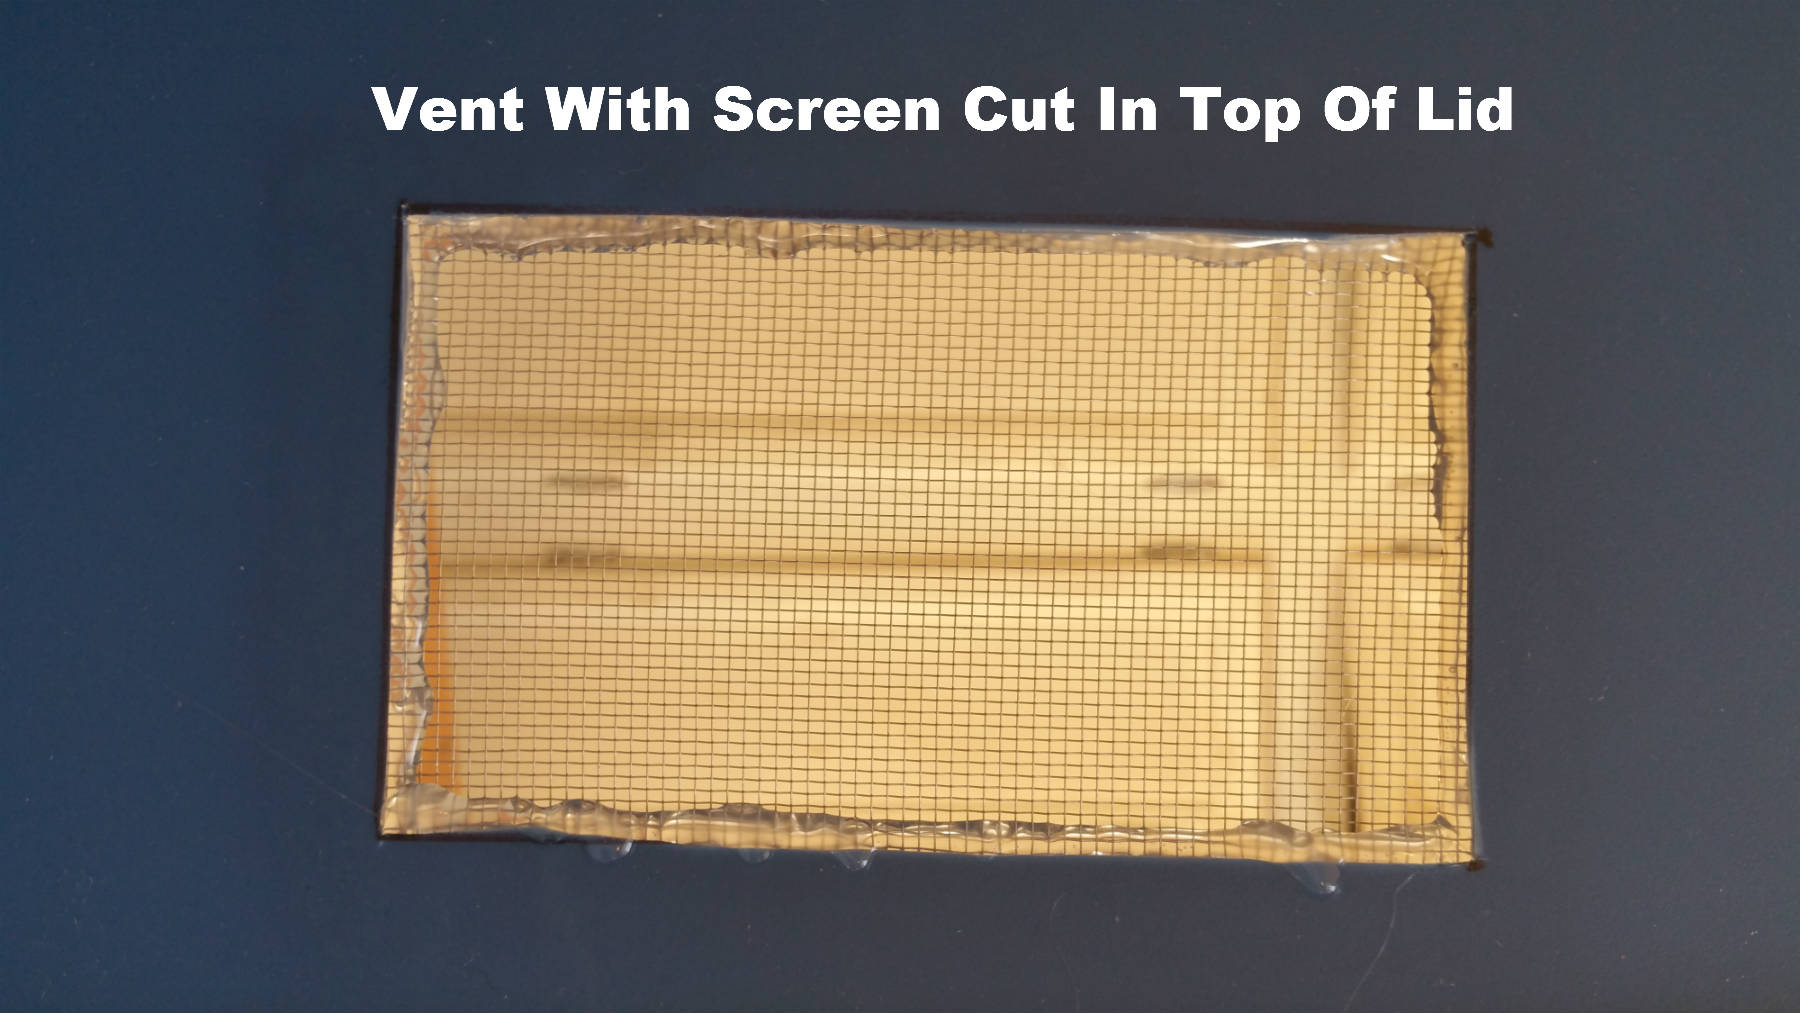
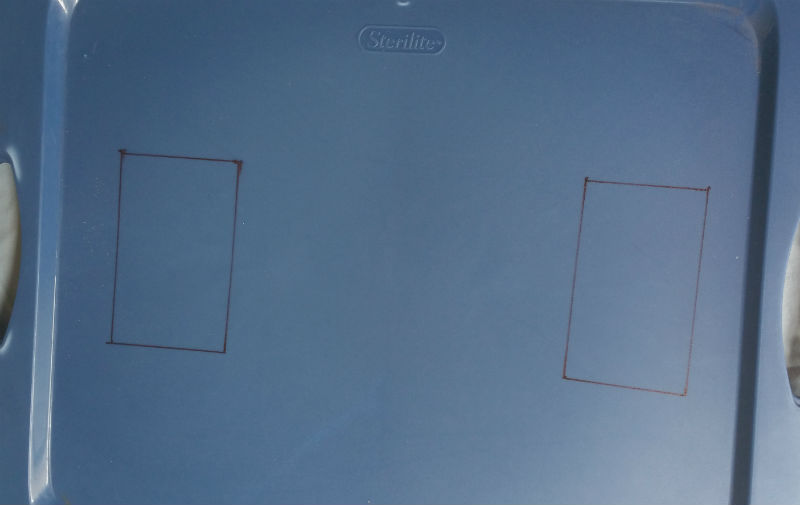
Mark out two (2) 3”x5” holes. Use a piece of cardboard or a ruler to make the lines straight.
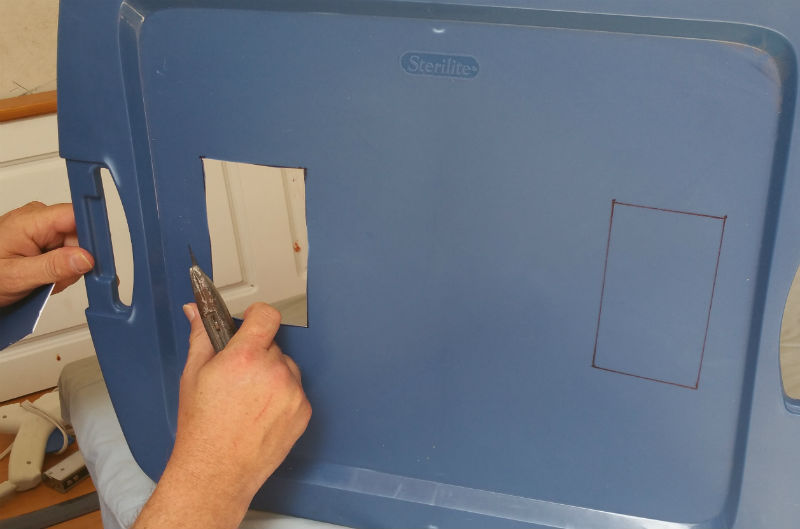
Once your vent holes are marked you will need to SLOWLY and CAREFULLY cut the lines you have made with a razor blade carpet knife or soldering iron.
Next, cut out two 4”x6” pieces of fine metal window screen, if you have one of our starter kits these come pre-cut for you. Place the screen on the inside of the tub lid, starting at one corner, tack the screen with a small spot of hot glue. Once the tacked corner of glue is cool you can then work with the rest of the screen without worry of it moving.

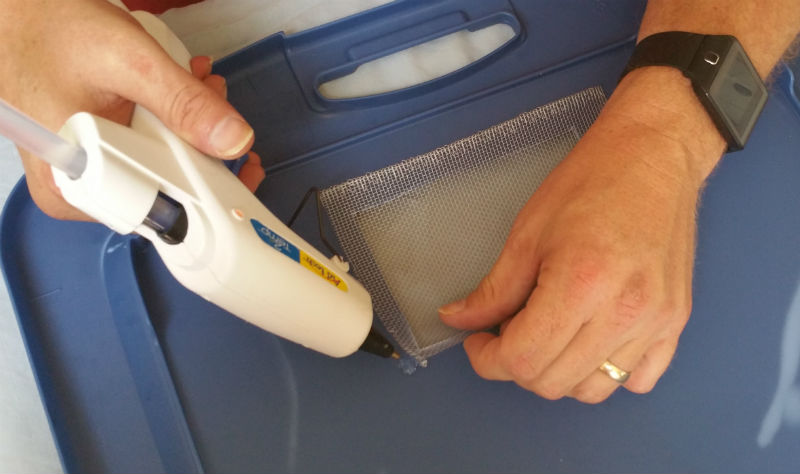
Work your way around the vent hole one side at a time. Remember to let the glue cool on each side before moving to the next so the screen doesn’t move out of place.


Turning the plastic lid back over to the top side, hot glue the gaps between the screen and the plastic. You are now done with the vents.


